
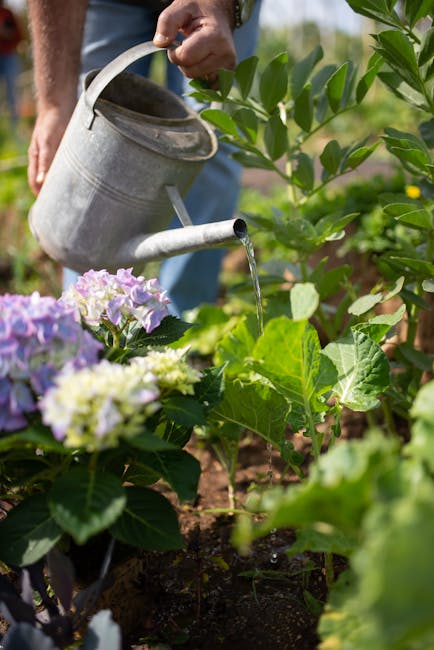
Can You Propagate Hydrangeas from Leaves?
While hydrangeas are famously propagated from cuttings, a common question among gardening enthusiasts is: can you propagate hydrangeas from leaves? The short answer is: it’s challenging, but not impossible. While leaf propagation isn’t as reliable as stem cuttings, it’s a worthwhile experiment for those eager to expand their hydrangea collection. The success rate is significantly lower compared to other methods, but with patience and the right technique, you might just find yourself with a thriving new plant.
Why Leaf Propagation is Difficult for Hydrangeas
Hydrangeas, unlike some plants, don’t readily produce adventitious roots (roots that form from non-root tissues) from their leaves alone. The leaf itself doesn’t contain the necessary meristematic cells (cells that divide and differentiate to form new tissues) required for root development in the same way a stem cutting does. Stem cuttings possess nodes, which are points where roots readily form. Leaves lack these nodes, making root development significantly more difficult.
Understanding the Challenges and Increasing Your Chances of Success
The biggest hurdle in propagating hydrangeas from leaves is the lack of readily available growth hormones and the absence of stored energy reserves compared to stem cuttings. Stem cuttings have a greater chance of success because they already contain sufficient energy stores to fuel the initial growth phases. Moreover, the presence of nodes and buds within the stem cutting facilitates root formation. Leaves, lacking these, require a more carefully controlled environment and a significant boost to initiate root growth.
Factors Affecting Success
- Leaf Health: Select healthy, mature leaves, avoiding damaged or diseased ones. The leaf’s condition directly impacts its ability to produce roots.
- Timing: Spring and early summer, when the plant is actively growing, are the ideal times for leaf propagation.
- Humidity: High humidity is crucial to prevent the leaf from drying out before roots can form. This is particularly important in the initial stages.
- Light: Bright, indirect light is ideal. Avoid direct sunlight which could scorch the leaves.
- Rooting Hormone: Using a rooting hormone significantly increases the chances of success. It provides the leaf with the necessary hormones to stimulate root development.
- Substrate: A well-draining, sterile potting mix is essential to prevent rot and promote healthy root growth.
Step-by-Step Guide to Propagating Hydrangeas from Leaves
While the success rate is lower, attempting leaf propagation can be a rewarding experience. Follow these steps to maximize your chances:
1. Selecting and Preparing the Leaves
Choose healthy, mature leaves from the current year’s growth. Avoid leaves that are too young or too old. Gently remove a leaf, ensuring you get a small portion of the stem attached. This small section of stem contains some meristematic cells which can aid in root formation.
2. Applying Rooting Hormone
Dip the cut end of the stem (attached to the leaf) into a rooting hormone powder. Follow the instructions on the product for the correct application. This is a critical step to encourage root development.
3. Preparing the Propagation Medium
Use a sterile, well-draining potting mix. A mix of perlite and peat moss is ideal. Ensure the medium is moist but not soggy.
4. Planting the Leaf
Gently place the leaf on top of the potting mix, ensuring the stem end is in contact with the medium. You can gently press it into the mix to secure it. Avoid burying the leaf completely, as this can lead to rot.
5. Creating a Humid Environment
Cover the pot with a clear plastic bag or humidity dome to maintain high humidity. This helps to prevent the leaf from drying out before it can establish roots. You can create mini-greenhouse conditions using a clear plastic container with ventilation holes.
6. Providing Light and Temperature
Place the pot in a location with bright, indirect light and warm temperatures (around 70-75°F or 21-24°C). Avoid direct sunlight which can cause the leaf to overheat and dry out.
7. Monitoring and Maintaining Humidity
Regularly monitor the moisture level of the potting mix and the humidity within the container. Mist the leaves occasionally to maintain optimal humidity. Avoid overwatering which can lead to root rot.
8. Patience and Persistence
Be patient. Root development can take several weeks or even months. Don’t be discouraged if you don’t see immediate results. Continue to maintain the appropriate conditions, and with persistence, you may see new growth emerge.
Troubleshooting and Tips for Success
Leaf propagation is challenging; if you encounter issues, don’t despair. Here are some troubleshooting tips:
- Leaf wilting: Increase humidity. Ensure adequate moisture but not overwatering. Reduce exposure to direct sunlight.
- Leaf rot: Ensure good drainage and avoid overwatering. Improve air circulation by venting the container.
- No root development: Consider using a stronger rooting hormone and ensuring proper humidity and temperature.
Alternative Propagation Methods
While leaf propagation is a challenging route, remember that other methods, such as stem cuttings, offer much higher success rates. Consider exploring these alternatives for a more reliable way to propagate your hydrangeas.
Conclusion
Propagating hydrangeas from leaves is a challenging but rewarding undertaking. While success isn’t guaranteed, understanding the challenges and following these steps can significantly increase your chances. Remember, patience and the right conditions are key to success. Even if you don’t succeed, the learning experience is valuable in understanding the propagation process and the unique characteristics of hydrangeas.
